

Buy anything from 5,000+ international stores. One checkout price. No surprise fees. Join 2M+ shoppers on Desertcart.
Desertcart purchases this item on your behalf and handles shipping, customs, and support to Philippines.
๐ Inflate Like a Pro โ Never Miss a Beat on the Road!
The 
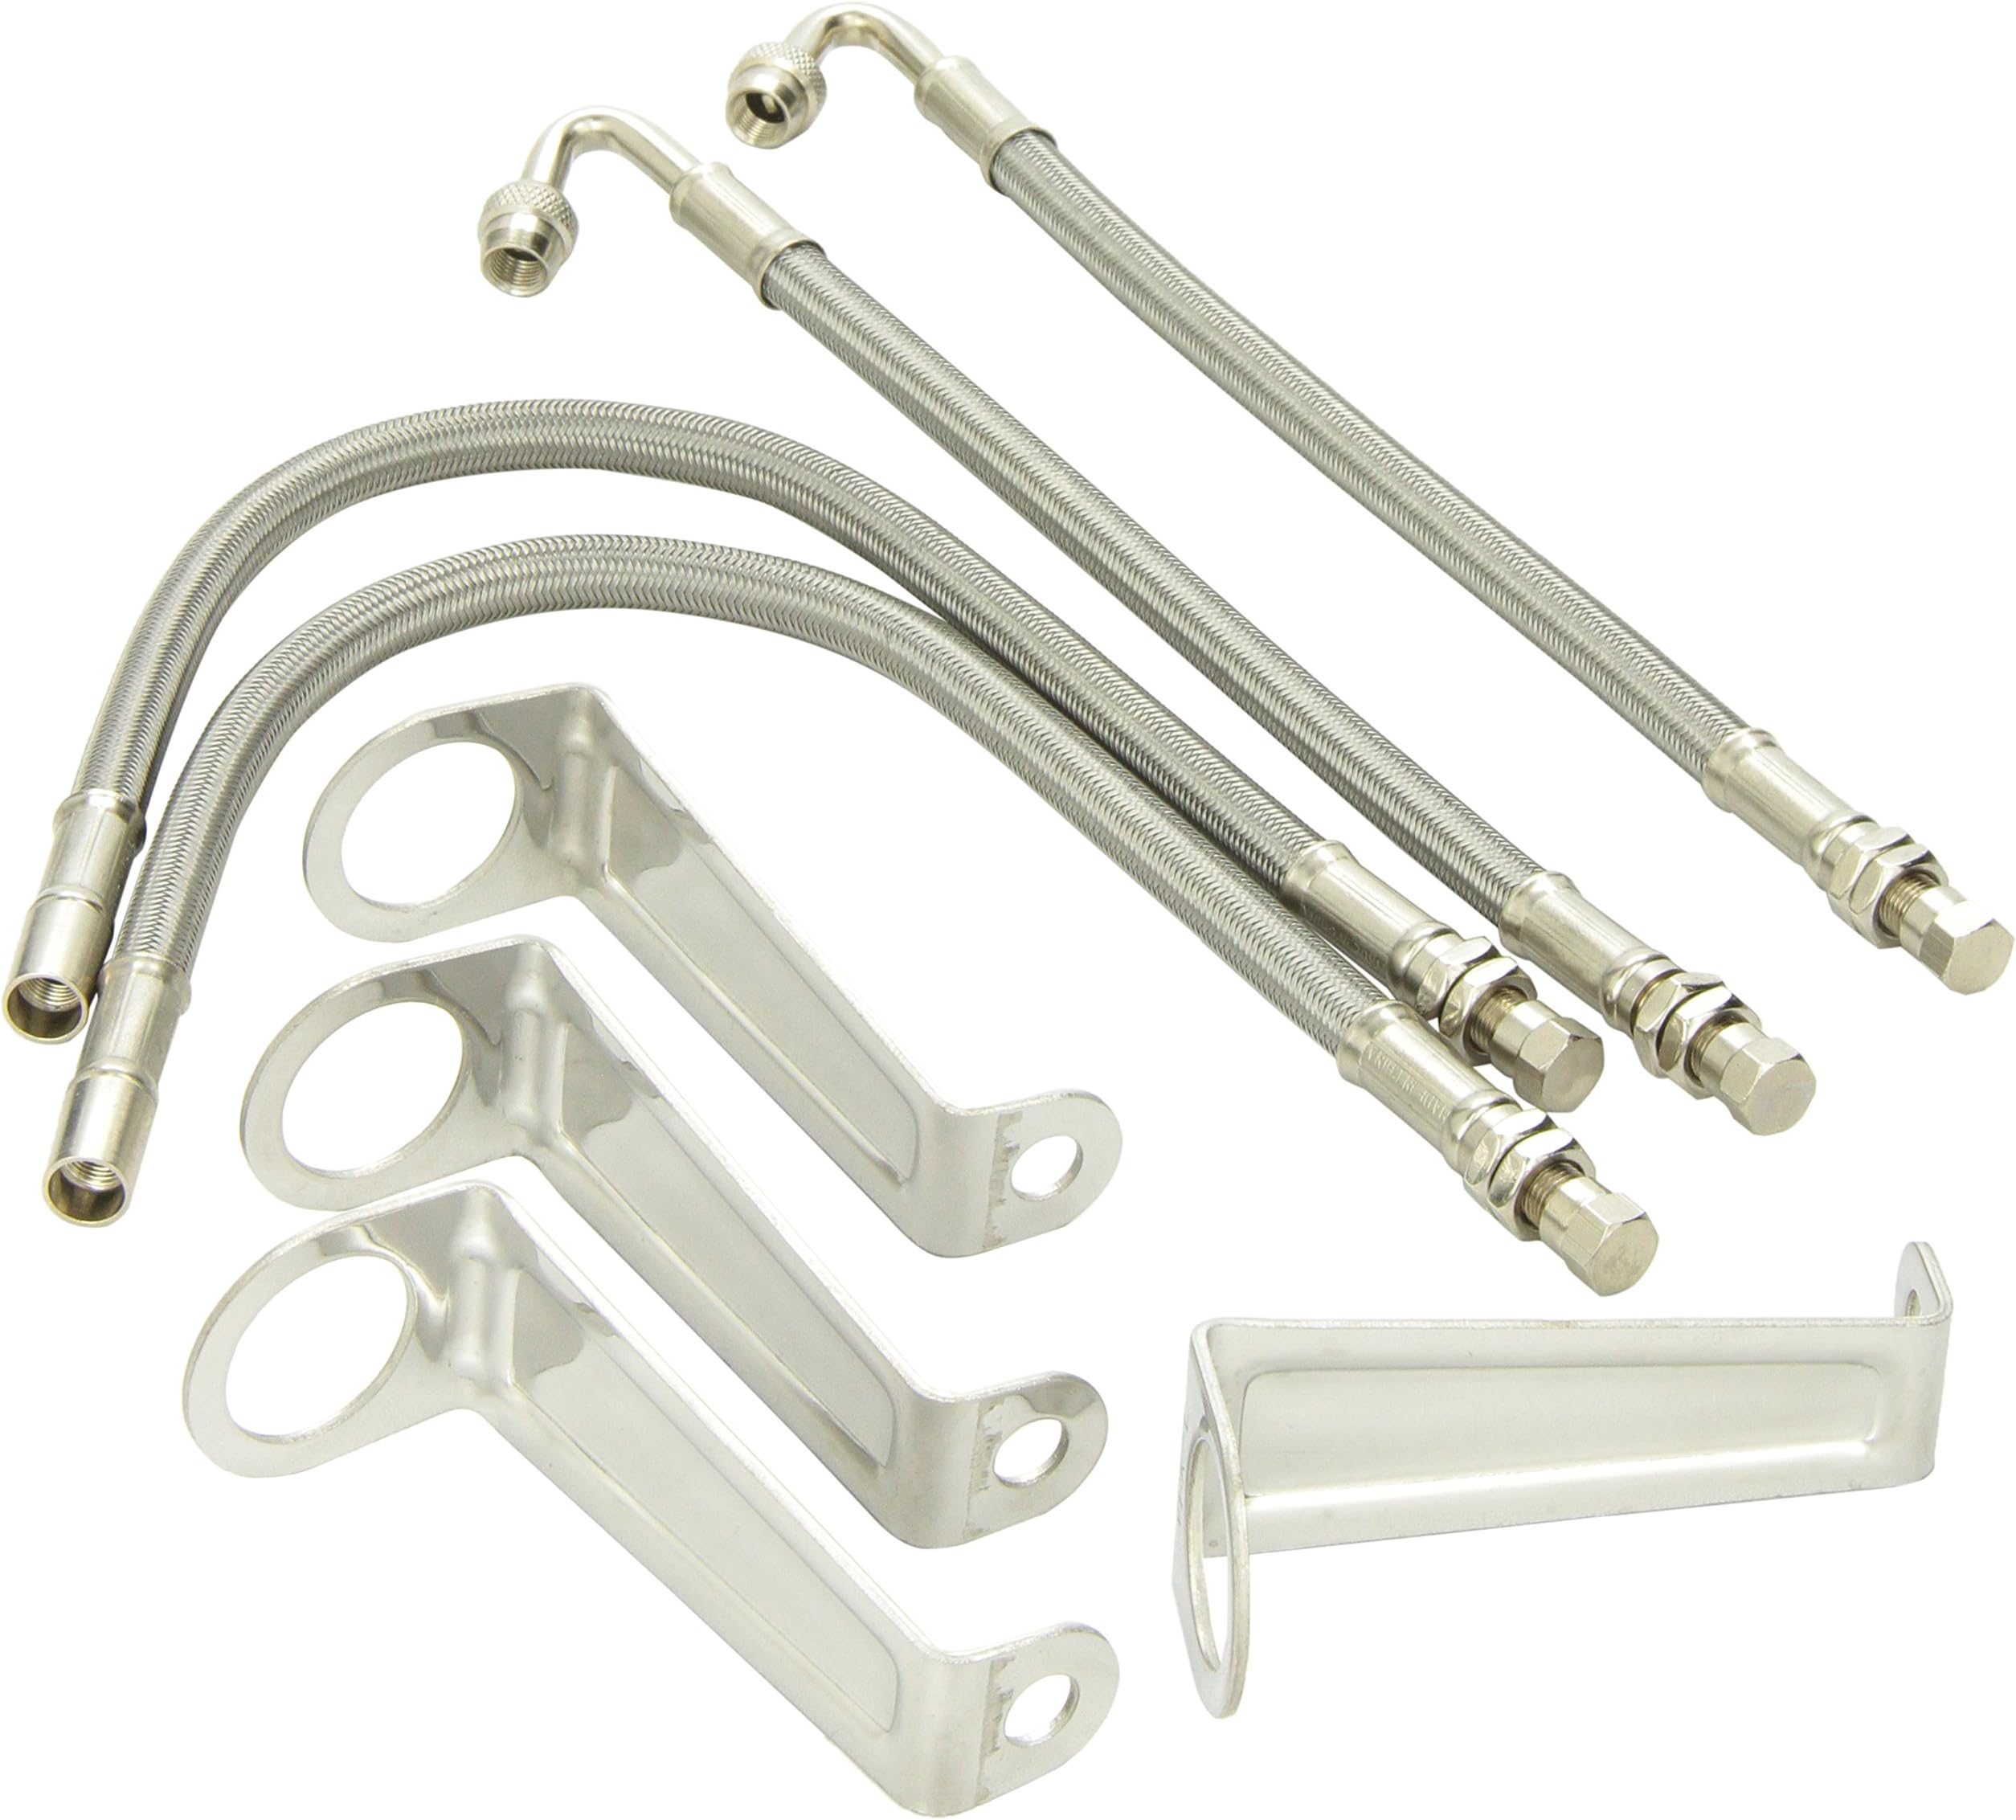
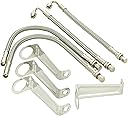
Phoenix USA AML1 Air Inflation Kit features braided stainless steel valve stem extensions designed for inner and outer rear truck wheels. With a 120-degree bend on the outer extensions and included DOT Liner hardware and brackets, this universal-fit kit simplifies dual wheel air inflation, enhancing durability and ease of use for professional-grade maintenance.
| ASIN | B004VRO19Y |
| Automotive Fit Type | Vehicle Specific Fit |
| Best Sellers Rank | #330,568 in Automotive ( See Top 100 in Automotive ) #865 in Wheel & Tire Air Compressors & Inflators |
| Brand | Phoenix USA |
| Brand Name | Phoenix USA |
| Color | Natural |
| Compatible with Vehicle Type | Truck |
| Customer Reviews | 4.3 out of 5 stars 728 Reviews |
| Fit Type | Vehicle Specific Fit |
| Global Trade Identification Number | 00831872000610 |
| Included Components | Brackets |
| Item Weight | 11.2 ounces |
| Manufacturer | Phoenix USA |
| Manufacturer Part Number | AML1 |
| Manufacturer Warranty Description | Please contact us if you experience any issues within 30 days of receipt. |
| Material | Alloy Steel |
| Material Type | Alloy Steel |
| Model Number | AML1 |
| Number of Pieces | 1 |
| Shape | Round |
| UPC | 831872000610 |
| Unit Count | 1.0 Count |
| Vehicle Service Type | Truck |
P**S
Good quality
Itโs pricey, but better quality than most
D**M
These extenders work great on my 2016 Minnie Winnie E-450 Ford.
These valve extensions make checking and adding air to the rear tires a breeze. The hose brackets secure beneath the wheel linerโs two removable lug nuts. I had these on a previous RV, and I was determined to have them again. Unfortunately, my 2016 Minnie Winnie on E-450 chassis has push-on friction fit wheel liners. This kit is not designed for that. Note; this is not recommended by the manufacturer, but is something I decided to try (at my own risk) to make them fit. First make sure that the wheel linerโs center runs fairly concentric with the perimeter. To check this, find a side road that has little traffic, and slowly drive your RV while someone views each wheel liner. If the center has excessive wobble, the cause must be found and corrected before going further. Start by installing the extension hoses through the holes in the wheel liner to determine the mounting brackets best locations. Reference the locations on the center can with masking tape, and then remove wheel liner. Check the hose extensions with soapy water to make certain there are no leaks anywhere. The can is riveted to the liner. A reference mark was made and then the 4 rivet heads were ground off allowing the two pieces to separate as shown in the 1st photo. It will be reassembled with stainless steel 10-32 x ยฝโ Button head Allen cap screws & nylon stainless steel locking nuts. (All hardware was purchased thru Amazon.) Next the brackets were cut to 2โ in length, and then two holes drilled for mounting using a #11 (.191โ) bit. Take time and make the brackets as identical as possible. To maintain balance, position the brackets exactly opposite and at the same height on the can and mark for drilling. Note; the diameters of the can and hub are quite close, leaving little room for mounting hardware. Drill one top hole, and secure the bracket with 10-32 Button head screw and then test fit. Do a little at a time and donโt rush the job. Test fit the can over the hub frequently. The lower hole was drilled, but the same hardware wouldnโt fit over the hub. My wife suggested using rivets installed from the inside out for the lower holes. With all 4 holes drilled, the can was bolted back into the wheel liner. The brackets were both attached by their top bolts, and stainless steel 3/16โ x ยผโ rivets were installed from the inside of the can. The flatter rivet heads cleared the hub. Remember the brackets can only be mounted once the can has been installed back into the wheel liner. Make sure all bolts are tightened, and then properly align the hoses and install the wheel liner back onto the rim. Secure the hoses into the brackets and one side is done. Check the tire pressure over the next several days to make certain all is leak free.
R**C
But it did fit my neighbor's truck.
Did not fit my truck.
A**R
Works great but needed modificationto to install!
Purchased these for a Class A motorhome with 19.5" wheels. The 4 brackets provided that hold the ends of the air extenders ended up being to small for this size of wheel. The end of the bracket that installs on the wheel stud was to narrow not allowing the stainless steel wheel liner locking nut to thread onto the stud. A possible solution was to create a new bend in the angle of the bracket to allow the locking nut to thread onto the stud but then the brackets would have been too short for the length of the air extenders. Note: This product was advertised as fitting a 19.5 wheel which theses air extender hoses do but the brackets that hold the air extenders are too short based on the length of the air extender hoses provided plus the wheel liner locking nut issue noted above. Since I was looking to complete this project sooner rather than later, I cut off the wheel stud ends of the brackets and riveted the brackets onto the center hub of the wheel liners instead of returning the product to the seller. This step probably added 3 hours of work which wouldn't have occurred if the brackets were properly sized so the wheel liner locking nuts would thread onto the wheel studs. The air extenders have been installed for a week now and the air pressure in the tires have remained stable which means there are no air leaks which is good. Overall the extenders have worked great and are of good quality! Now I can easily check the dual tires' air pressure and easily inflate them if needed.
M**D
Solved my Air Problem
I have a 2023 F350 Cab Chassis Lariat with aluminum wheels. I needed valve stem extensions and this product solved my problem. The install was easy with no issues. I can now manage my air pressure for both tires very easy. The only negative is when I reached out to the company Phoenix USA, asking for help, they were not helpful at all. So after some research, I ordered this product and hoped the size was correct. Everything worked, but Phoenix USA could have been more helpful.
T**R
Nice addition and secure connection.
Update, July 26, 2017. I had to downgrade, they leak, very disapointed. Install finger tight, then a quarter turn, leaks, try half turn more, still bleeds down. Any further than one full turn, its as if the rubber seal blocks air from wheel valve stem, no air will come out when valve core on extension is pressed. I had high hopes after all the positive reviews and seeing how well built they are. Im really bummed and disappointed after spending money and time on these. Original: Installed on a 08 3500 Dually, This truck has the wheel simulators and I knew instillation with the bracket under the wheel nut would not be possible without modifications to the center cap. I removed the flange that would normally be set under the wheel nuts then positioned the bracket on a flat portion of outer wheel simulator and secured with two stainless fasteners. The connection between the extension and valve stem is secure. Checking tire pressure and making pressure adjustments is easy now. Note: install metal bolt on valve stems such as VTR TR-416-S 1" valve stems (available on Amazon, a 4pk with two of the common sizes grommets, sold by Veteran Tire and Rubber Inc). Only issue I had was the valve stems about 2" longer than they needed to be for this application but they work.
S**N
Easy to use . Good quality!
Good quality. Easy to use!
K**.
Solid product but could use some improvements for my truck.
My review is for a 2022 RAM 3500 Dually. Overall the quality of the product is great, but it need a lot of modifications to work properly. Pros: Well made, correct lengths, relatively easy to install, don't leak, very stiff so it stays in place. Cons: "S" bracket too short to go around hub cap, inner extension had to be cut to fit inner valve stem. Let me explain in further detail. The "S" bracket that locks under a stud is too short so it cannot clear the hub cap with some serious modifications. In my case I used a Dremel tool to cut a channel in the plastic hub cap. In regard to the inner extension, the female end of the extension is too long for it to properly seat on the valve. So it leaks. Using the same Dremel, I cut about a 1/4 inch off and it seated properly. No more leaks. I am also a bit concerned about durability only for the reason the extensions touch the rim. I am concerned that constant vibration may wear a hole into the extensions sometime in the future. Time will tell. So, overall I am happy with the product, but not happy about the engineering. Hence the 3 stars. That said, if you don't mind modifying your caps, then this is a solid product.
Trustpilot
1 week ago
2 months ago