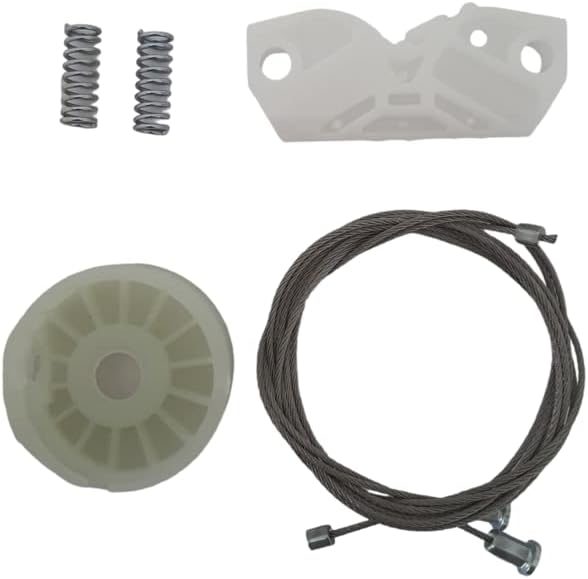
...but be warned, it is not an easy job. However, if you have a reasonable amount of mechanical ability, you will save yourself about $800 in parts & labor. Watch the Youtube videos that are available for removing the back seat side panel. YOU DO NOT NEED TO REMOVE THE SEATS as some videos imply...at least in the coupe not certain about the cabriolet. The basic steps: 1) Remove the lower window seals, 2) remove the side SRS (airbag) panel cover, 3) remove all the rubber hole plugs, 4) Remove the metal panel above the side SRS (screws in the back are tricky but doable without removing the lower panel or seats just need to get creative 5) remove the window from the regulator (this is difficult if the window does not move to align with the panel holes). remove the regulator (top two screws are easy but the bottom one gave me nightmares for three days until I realized that the nut is accessed through a hole behind the exterior side molding, [see pic], 6) rebuild the regulator with the parts provided in this kit. The trick to rebuilding the regulator is putting the upper and lower cables in the cam groove [see pics] on the side of the upper and lower pullies when turning the pulleys until the cable pops into the circular groove. Tips: the longer cable goes to the top of the regulator; pay attention to the way all the parts come off the regulator, you will need to put them back the same way.