


💧 Seal the deal with LG’s leak-proof gasket—because your laundry deserves the best!
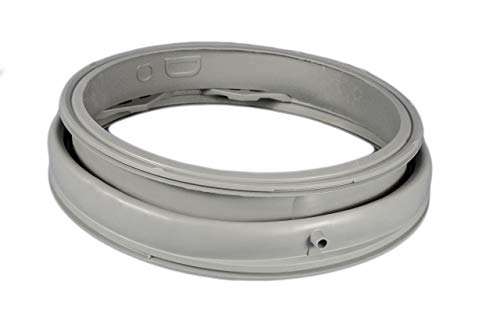
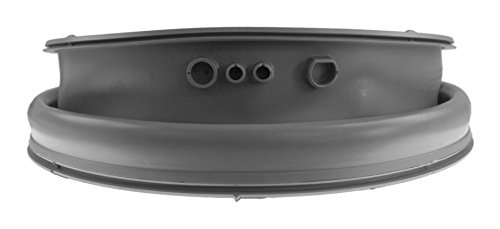
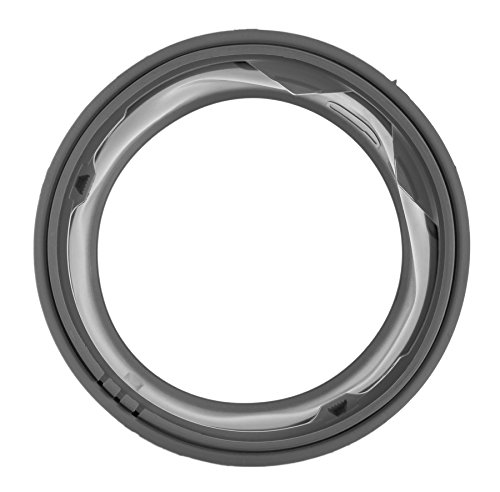
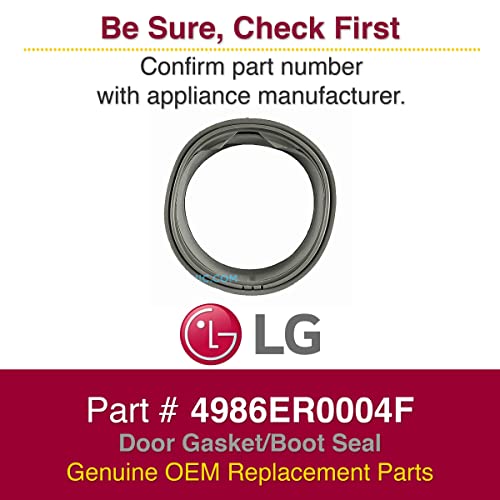
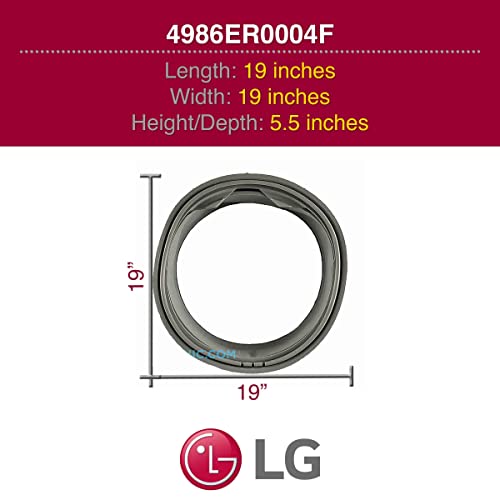
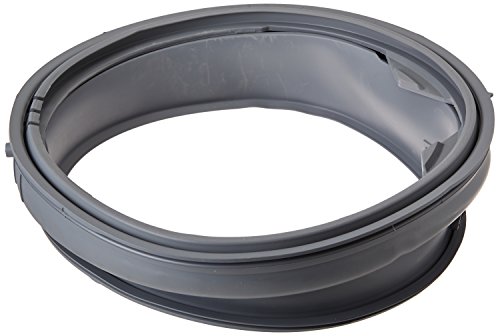
The LG 4986ER0004F Washer Door Gasket is a genuine OEM replacement part designed for LG front-load washers. Manufactured with premium, durable materials and featuring a built-in drain port, it ensures a perfect fit and prevents leaks caused by overloading or wear. Easy to install as a DIY project, this gasket restores your washer’s seal integrity, eliminates mold buildup, and extends appliance life.

| ASIN | B00M0YO7EO |
| Batteries Included? | No |
| Batteries Required? | No |
| Best Sellers Rank | #451,472 in Tools & Home Improvement ( See Top 100 in Tools & Home Improvement ) #559 in Clothes Washer Replacement Doors |
| Brand Name | LG |
| Color | Gray |
| Customer Reviews | 4.5 4.5 out of 5 stars (930) |
| Date First Available | July 22, 2014 |
| Included Components | Door Gasket |
| Is Discontinued By Manufacturer | No |
| Item Weight | 1 pounds |
| Item model number | 4986ER0004F |
| Model Info | 4986ER0004F |
| Part Number | 4986ER0004F |
| Product Dimensions | 18.5 x 4.75 x 18.5 inches |
T**X
Perfect replacement
Replaced my old one from 6 years ago that grew mold on it. This part is a direct replacement. Fits on like a glove. Highly recommend a spring clamp to help grabbing the spring to set the gasket in. Can be done as a DIY if you have time, otherwise hire someone for about about an hour install.
M**H
This thing shouldn't cost this much
We replaced this gasket on our LG front load washer. This is a necessary task after some time with a front loader; especially if you never learned how to care for it. First, this was the right part for our washer. Second, we couldn't figure out where it went at first or how it fit back on, but videos helped with that. If i could go back and do it again, I would video us taking it apart... I called LG to ask for the correct pliers to expand the rings and they suggested I call a technician; which is not necessary... at all. If you are buying this product, you don't need a technician. Make sure to use dish soap on the gasket so that you can rotate it to the right orientation once you pop it on. It is very thick rubber, and while I was concerned at one point in puncturing it with a flat head screw driver, that never happened. No leaks. Works great. Doesn't smell weird like some things you get from a factory. Looks like brand new. I'm excited to do laundry
R**I
Fits just like original seal.
Fits just like original.
J**S
This was the right replacement for our LG washer.
These seals are very hard to keep clean and mold free. My wife asked me to replace this seal just because the the old one was such a mess. It is worth buying the tool that lets you spread the spring and wire that hold the seal in place. The new seal fits well and works perfect.
S**T
Works Perfect for LG-WM2301HR
The washer door gasket/seal worked perfect for my LG model: WM2301HR. The repair level was straightforward (several YouTube videos available) and simple. Buying the Moker Washing Machine Spring Expansion Tool to remove the spring made it so much easier. Removing and installing the springs without the expansion tool would be a headache. If the seal would have come with new hose clamps, I would make it 5-stars but otherwise it was perfect.
A**L
Nice product
This was the easy part to slip on when change. Please buy a new outer clamp before starting the job. The spring clamp rots out because of contact with the soap. I did not buy one and will have to buy a new one and install it. The inside spring clamps that holds it to the tub went on easy.but the outer clamp was a struggle.and the hardest to install. It is actually a two person job to put the clamp on. You could put it on with that $67 tool or use a couple of spoons like I did and an extra hand to prevent these from rolling off the metal lip on the door panel. The spoon do two things. First they help the cable into the rubber slot by opening it, then it prevents the cable from slipping out when it tightens up while stretching the spring. You will need to first line up the spring on the bottom in the slot provide in the rubber. This will save you time from taking it apart and reinstalling it.
T**.
Lg door boot repair
I ordered the door boot from Amazon, But unfortunately they make it really difficult to find the 2 Spring clips needed. And ended up order in to an appliance company. Just to make sure I got the right one. Sadly, they can put things together.. I watched a couple of raise on how to do this. One was removing the front panel. The other was not. It would fail to easy so I tried that first. That really? Isn't the way to go even if you have a lot of mechanical ability, I ended up losing a Spring within the machine. And how to take front panel off anyways. This actually ended up being easier for someone doing it for the first time.. Get the boot off and everything is not a Big deal. The important things I noted. Is take off that small dain 90 clean out. When you install, just make sure the drain Isn't being pushed upwards? Water does not flow up Hill. Clean everything well before you start simple green or other. Lubricate the boot well. The hardest part is getting Is getting the spring closest to the drum. The easiest way if there is one, Put the Spring on put the special pliers you have. As you stretch the spring grab the other on with Needle know pliers And just bring the tu together, ha ha. The rest is simple after that 5 stars for vendor and 3 for Amazon
T**E
Molded quickly
Not only is it incredibly hard to install, this one developed mold more quickly, and worse than the original gasket.
L**O
Se debe checar sea para la marca y modelo y quedo perfecta.
M**A
Me soluciono el cambio pero tuvieron que adaptarla a la Medida de una lavadora LG de modelo más antiguo.
Trustpilot
3 weeks ago
2 weeks ago