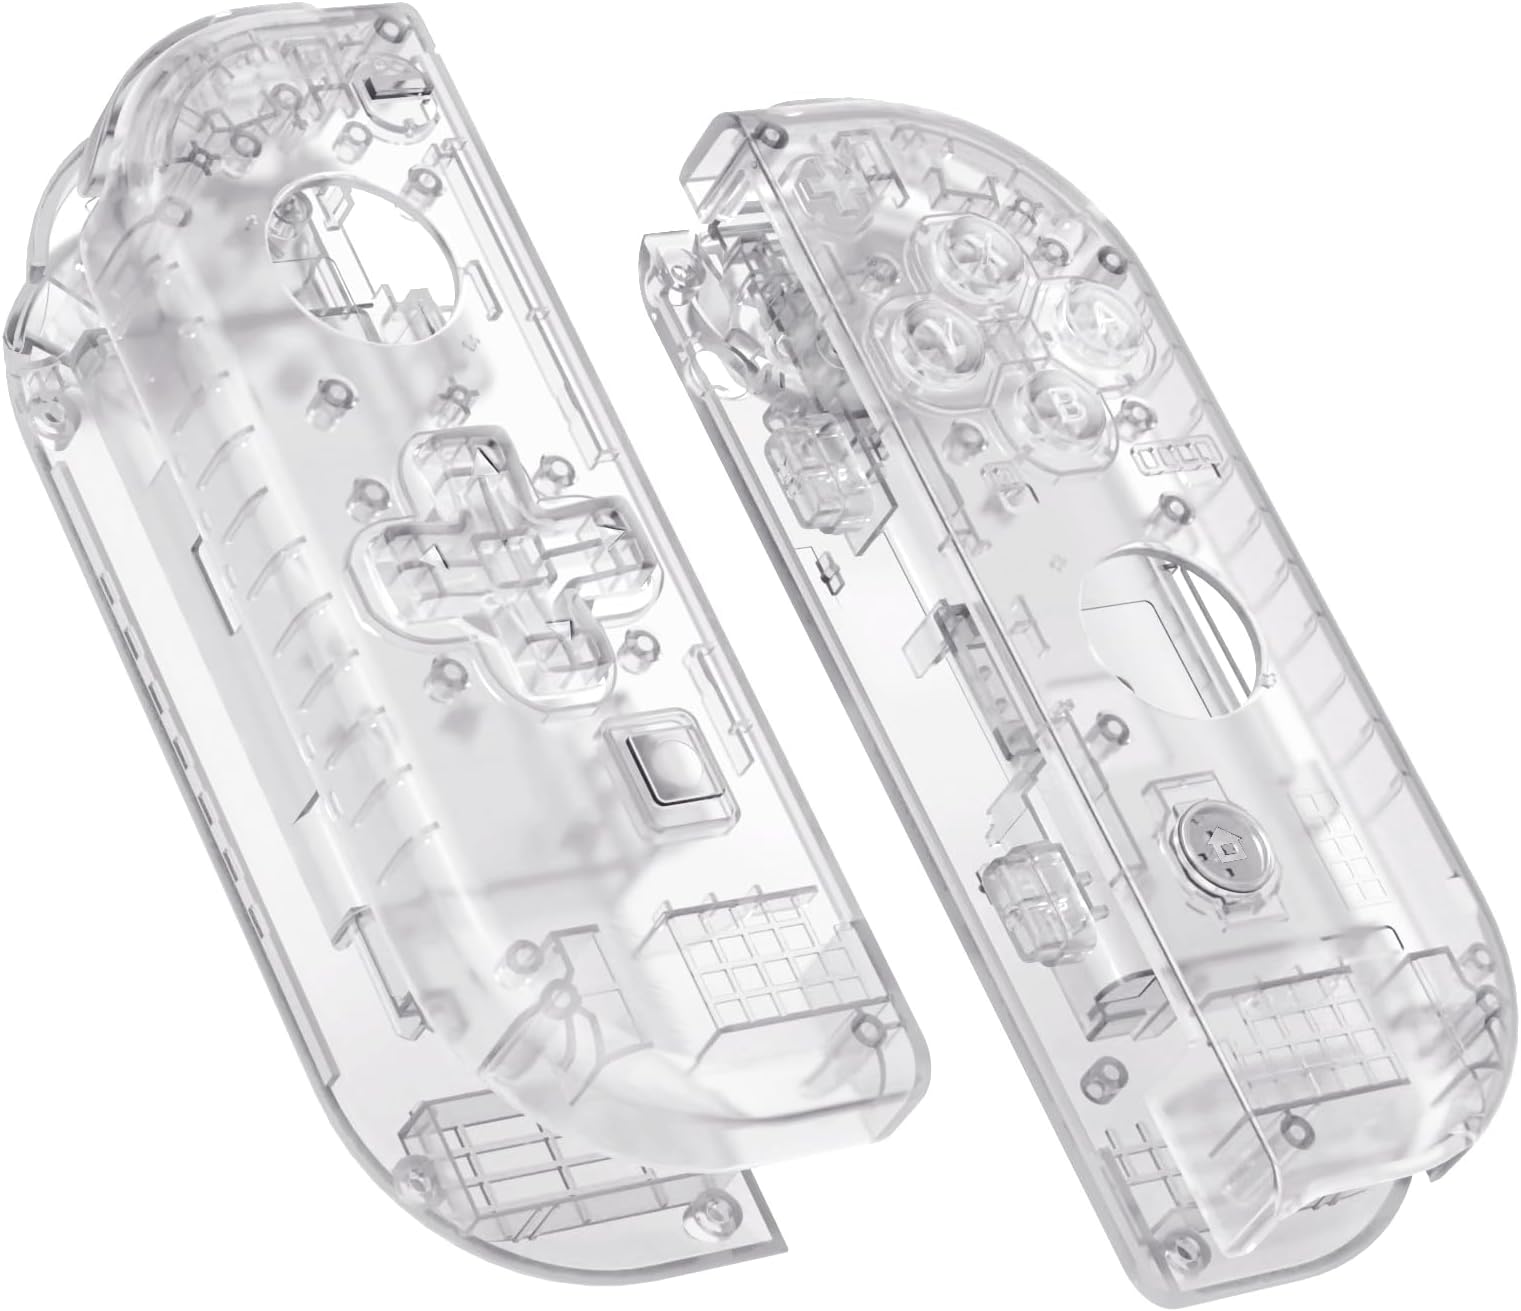
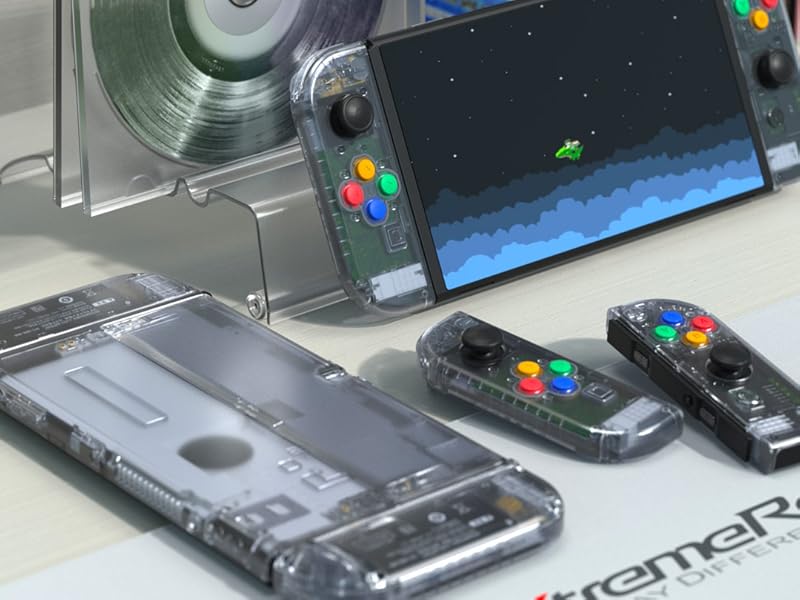
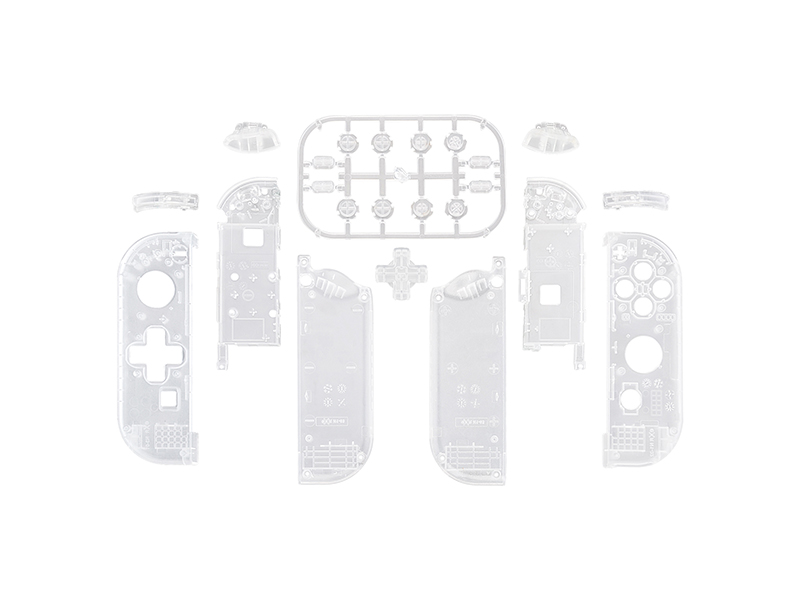
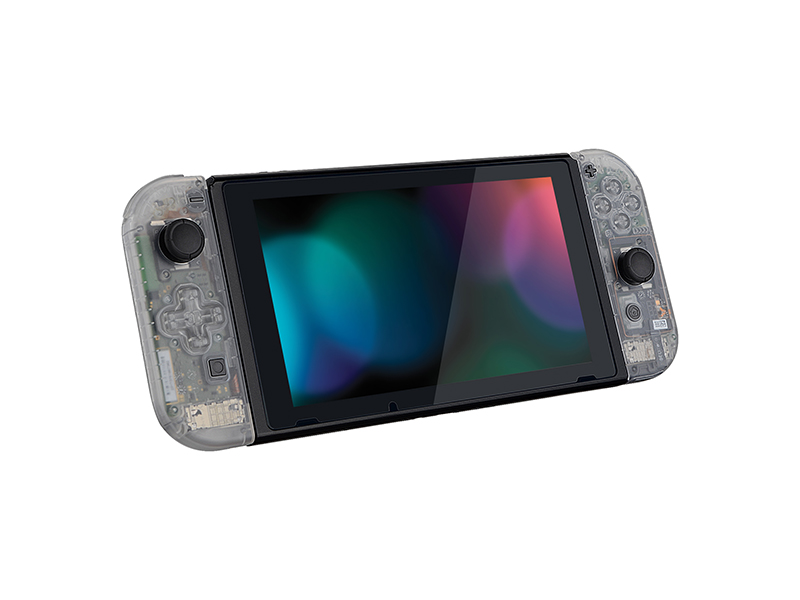
🎨 Unleash Your Style with Every Game!
The eXtremeRate Transparent Clear Joycon Handheld Controller Housing is a custom-designed replacement shell for Nintendo Switch Joy-Con controllers. It features an ergonomic D-pad for improved gameplay, a stylish transparent design, and comes with all necessary tools for installation. Ideal for gamers looking to personalize their console while enhancing functionality.
T**E
Great shell replacements
Great shell replacements. Overall the right joy on was a little more difficult than the left. Don’t over tighten screws just barely snug. All in all awesome customization. My old white joycons with my ILED had sticky buttons and were scratched up. This is new and has a nice crisp look. I like the full D pad for retro games also. .
A**R
Get a Y000 screwdriver
I’m a complete beginner to this kind of thing. I’ve never done this before. Here’s my tips for people in the same positionThe Y screwdriver included doesn’t fit. It will ruin your screws. You need to buy a Y000 screwdriver separately. Also make sure you’re watching a YouTube video on how to do this. Make sure you have good, narrow and tiny tweezers. Maybe use a magnetized bowl to keep screws and springs in.Also, you don’t have to remove every cable from the motherboard. If it’s possible to leave them attached, I recommend doing that. I ruined a shoulder button cable and had to buy a new one.It’s easy to remove and put back the joycon and battery cables. But other than that, if you want to be extra careful, maybe don’t try to remove anything else.I almost broke the vibration part by trying to take it out. Just leave it.Overall, it’s not hard. Admittedly I did break a cable, but after learning that I didn’t have to take all the cables off the motherboard like they did in the videos, I was fine. The first joycon may take a long time since it’s your first time, but the second one will go by much faster.I dropped so many screws and buttons and almost lost them for good. DON’T DROP YOUR BUTTONS or screws.In the YouTube videos, they recommend you have a small plastic pry tool called a spudger. I personally used a guitar pick for this. It wasn’t quite the same, but it was good enough. I have really small hands, too, so I didn’t need the tool as much as other people might. If you have big hands, look into buying a spudger.Ok that’s it. Sorry this was super unorganized. You can do it. If I can do it, you can. Just take all these tips and use them.(Get a Y000 screwdriverHave narrow tweezersHave a magnetized screw bowlDon’t remove every cable from the motherboardDon’t drop any screws or buttonsHave a spudger of some kindWatch the YouTube video by FetchingTech)
S**L
Great quality, minor critiques
I love that you changed the texture on the outside of the translucent shells. As someone who does repairs and customizations I do have a few critiques. Please bring back the translucent colored buttons and triggers options . Also you used to have a more accurate SNES shells. Miss those 2 tone ABXY buttons
B**T
Be sure to have flush cutters for the buttons.
Make sure you have some pointy tweezers and some flush/sprue cutters to make things a little easier.Everything came out great. My only critique is with the video. There were a couple of issues. One was addressed by the company on their website (be sure to pay attention to that). The issue was that in the original video they installed the cable upside down.The other issue was that they didn’t swap over the dust cover thing (for the joystick) on the first controller, so I didn’t think I was supposed to, but then they did it on the next controller. This was when I checked out someone else’s video to see if they kept the dust cover. They did. So I went back and disassembled and reassembled the first controller all over again to swap the dust cover.The parts seem great and everything turned out fine. It takes some time and patience, but it was worth it.I bought both the green and purple sets so I could have one controller of each color.
R**N
Not the easiest swap
I've modded my 3DS and GBA SP, as well as various controllers and the right joycon is one of the more difficult swaps I've done. If you are patient and gentle and follow a video guide you should be fine.Just a few things of note:There are about 6 tiny and fragile ribbon cables with tiny clips on each joycon. They all detach and reattach differently, which is why I reccomend a video (or take a video/pictures of how and how far the cables go in before they are clipped in place. Some have bumps to indicate, others do not. I had two I thought were in place pop out as I went on to the next step. Again, why I reccomend a video over a quick guide with some pictures.The rz and lz require a little force to remove from the old piece so I held my breath a little there.Other than that it wasn't too bad and the left joycon is much easier than the right so maybe do that first to get an idea of what's to come with the right one. Only weird thing was there are these 4 screws that form a square and 2 screws are short and 2 are long, so don't mix those up.Overall looks great and feels as good as the priginal buttons, but the D-Pad feels amazing compared to the original 4 button setup. I ended up using all the original screws but it comes with everything you need (even springs) as far as I can tell.
J**7
Easy Swap, Added D Pad
I have swapped a few joy con shells before but decided to try one with the DPad. This is not a difficult swap if you have patience and the right tools. In addition to the driver bits needed, you should also have an opening pick, spudger, and tweezers.Take your time, organize your screws, and take pictures at each step if you need. Be sure to not over tighten any screws; they will strip the plastic very easily and could also cause stress cracks on the shell.The addition of the DPad is excellent and while I wouldnt use it for everything, it will be in regular rotation for my platformers.I also used this time to try a set of hall effect joy sticks. They are a straight swap for stock so if you are considering this mod, now would be a great time to do it. Be sure to calibrate them and restart your system after installation.
Trustpilot
3 weeks ago
1 month ago