


🎶 Elevate Your Sound Experience with Wicked Cushions!
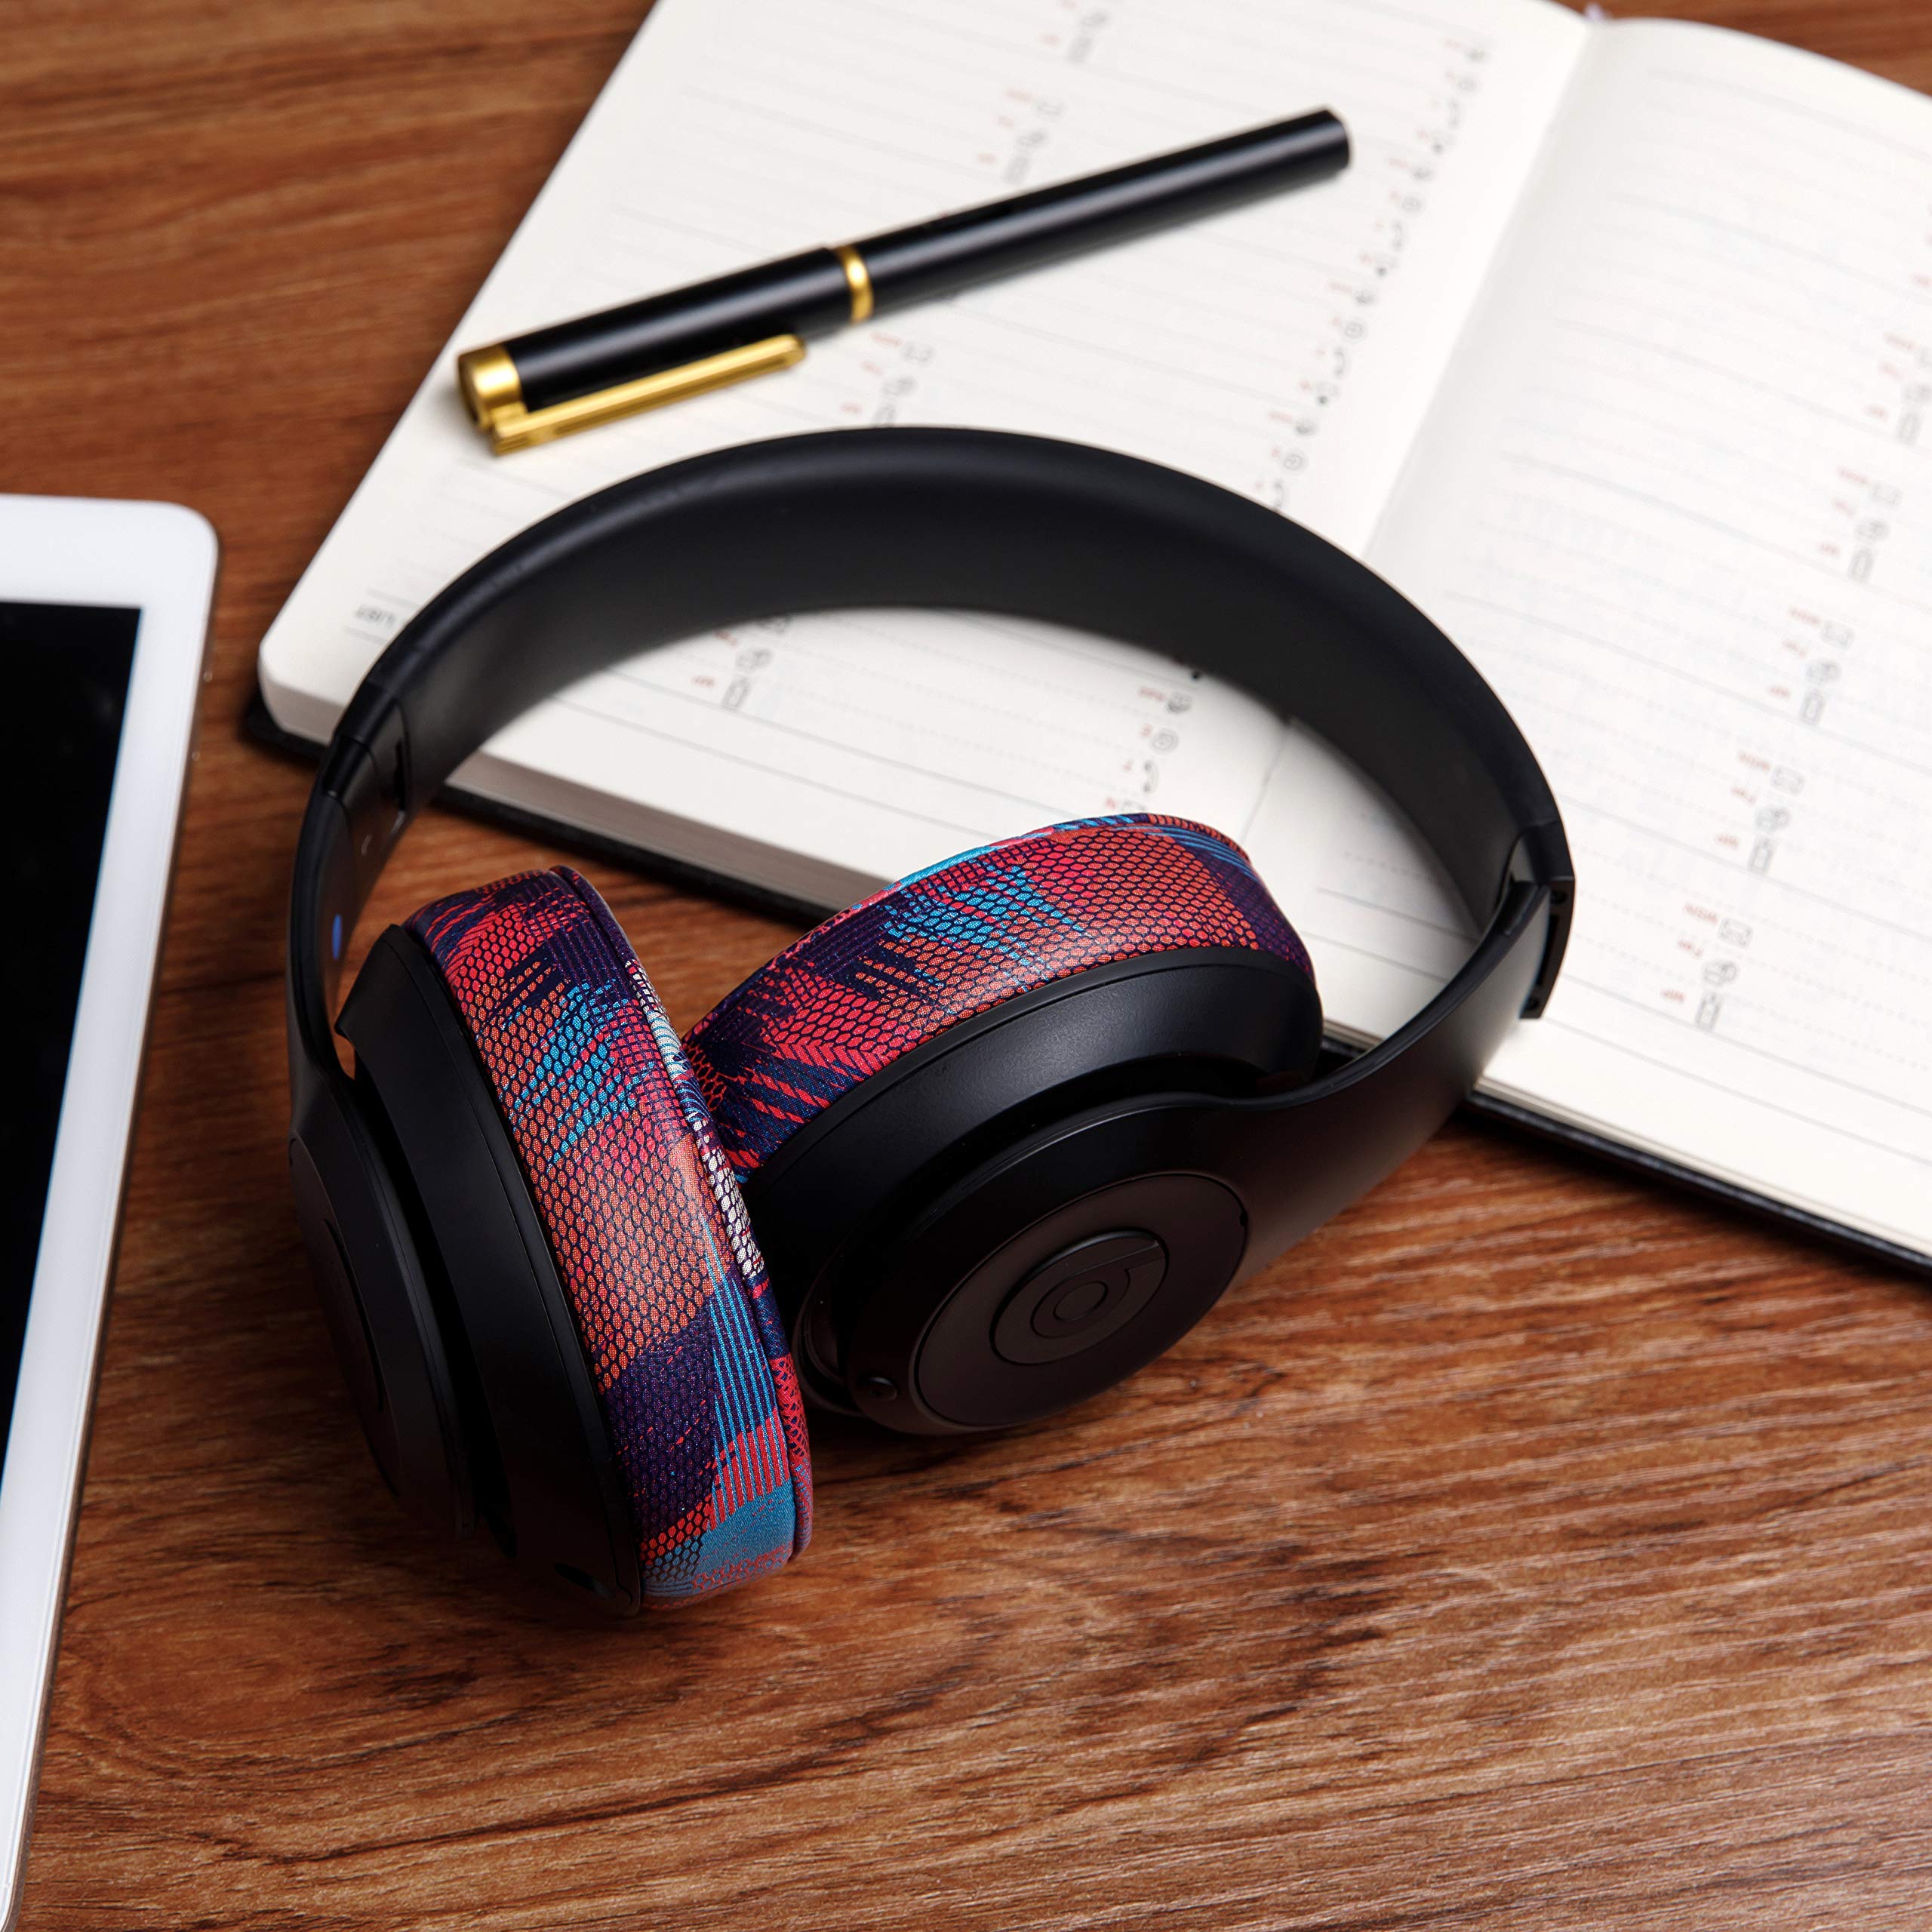
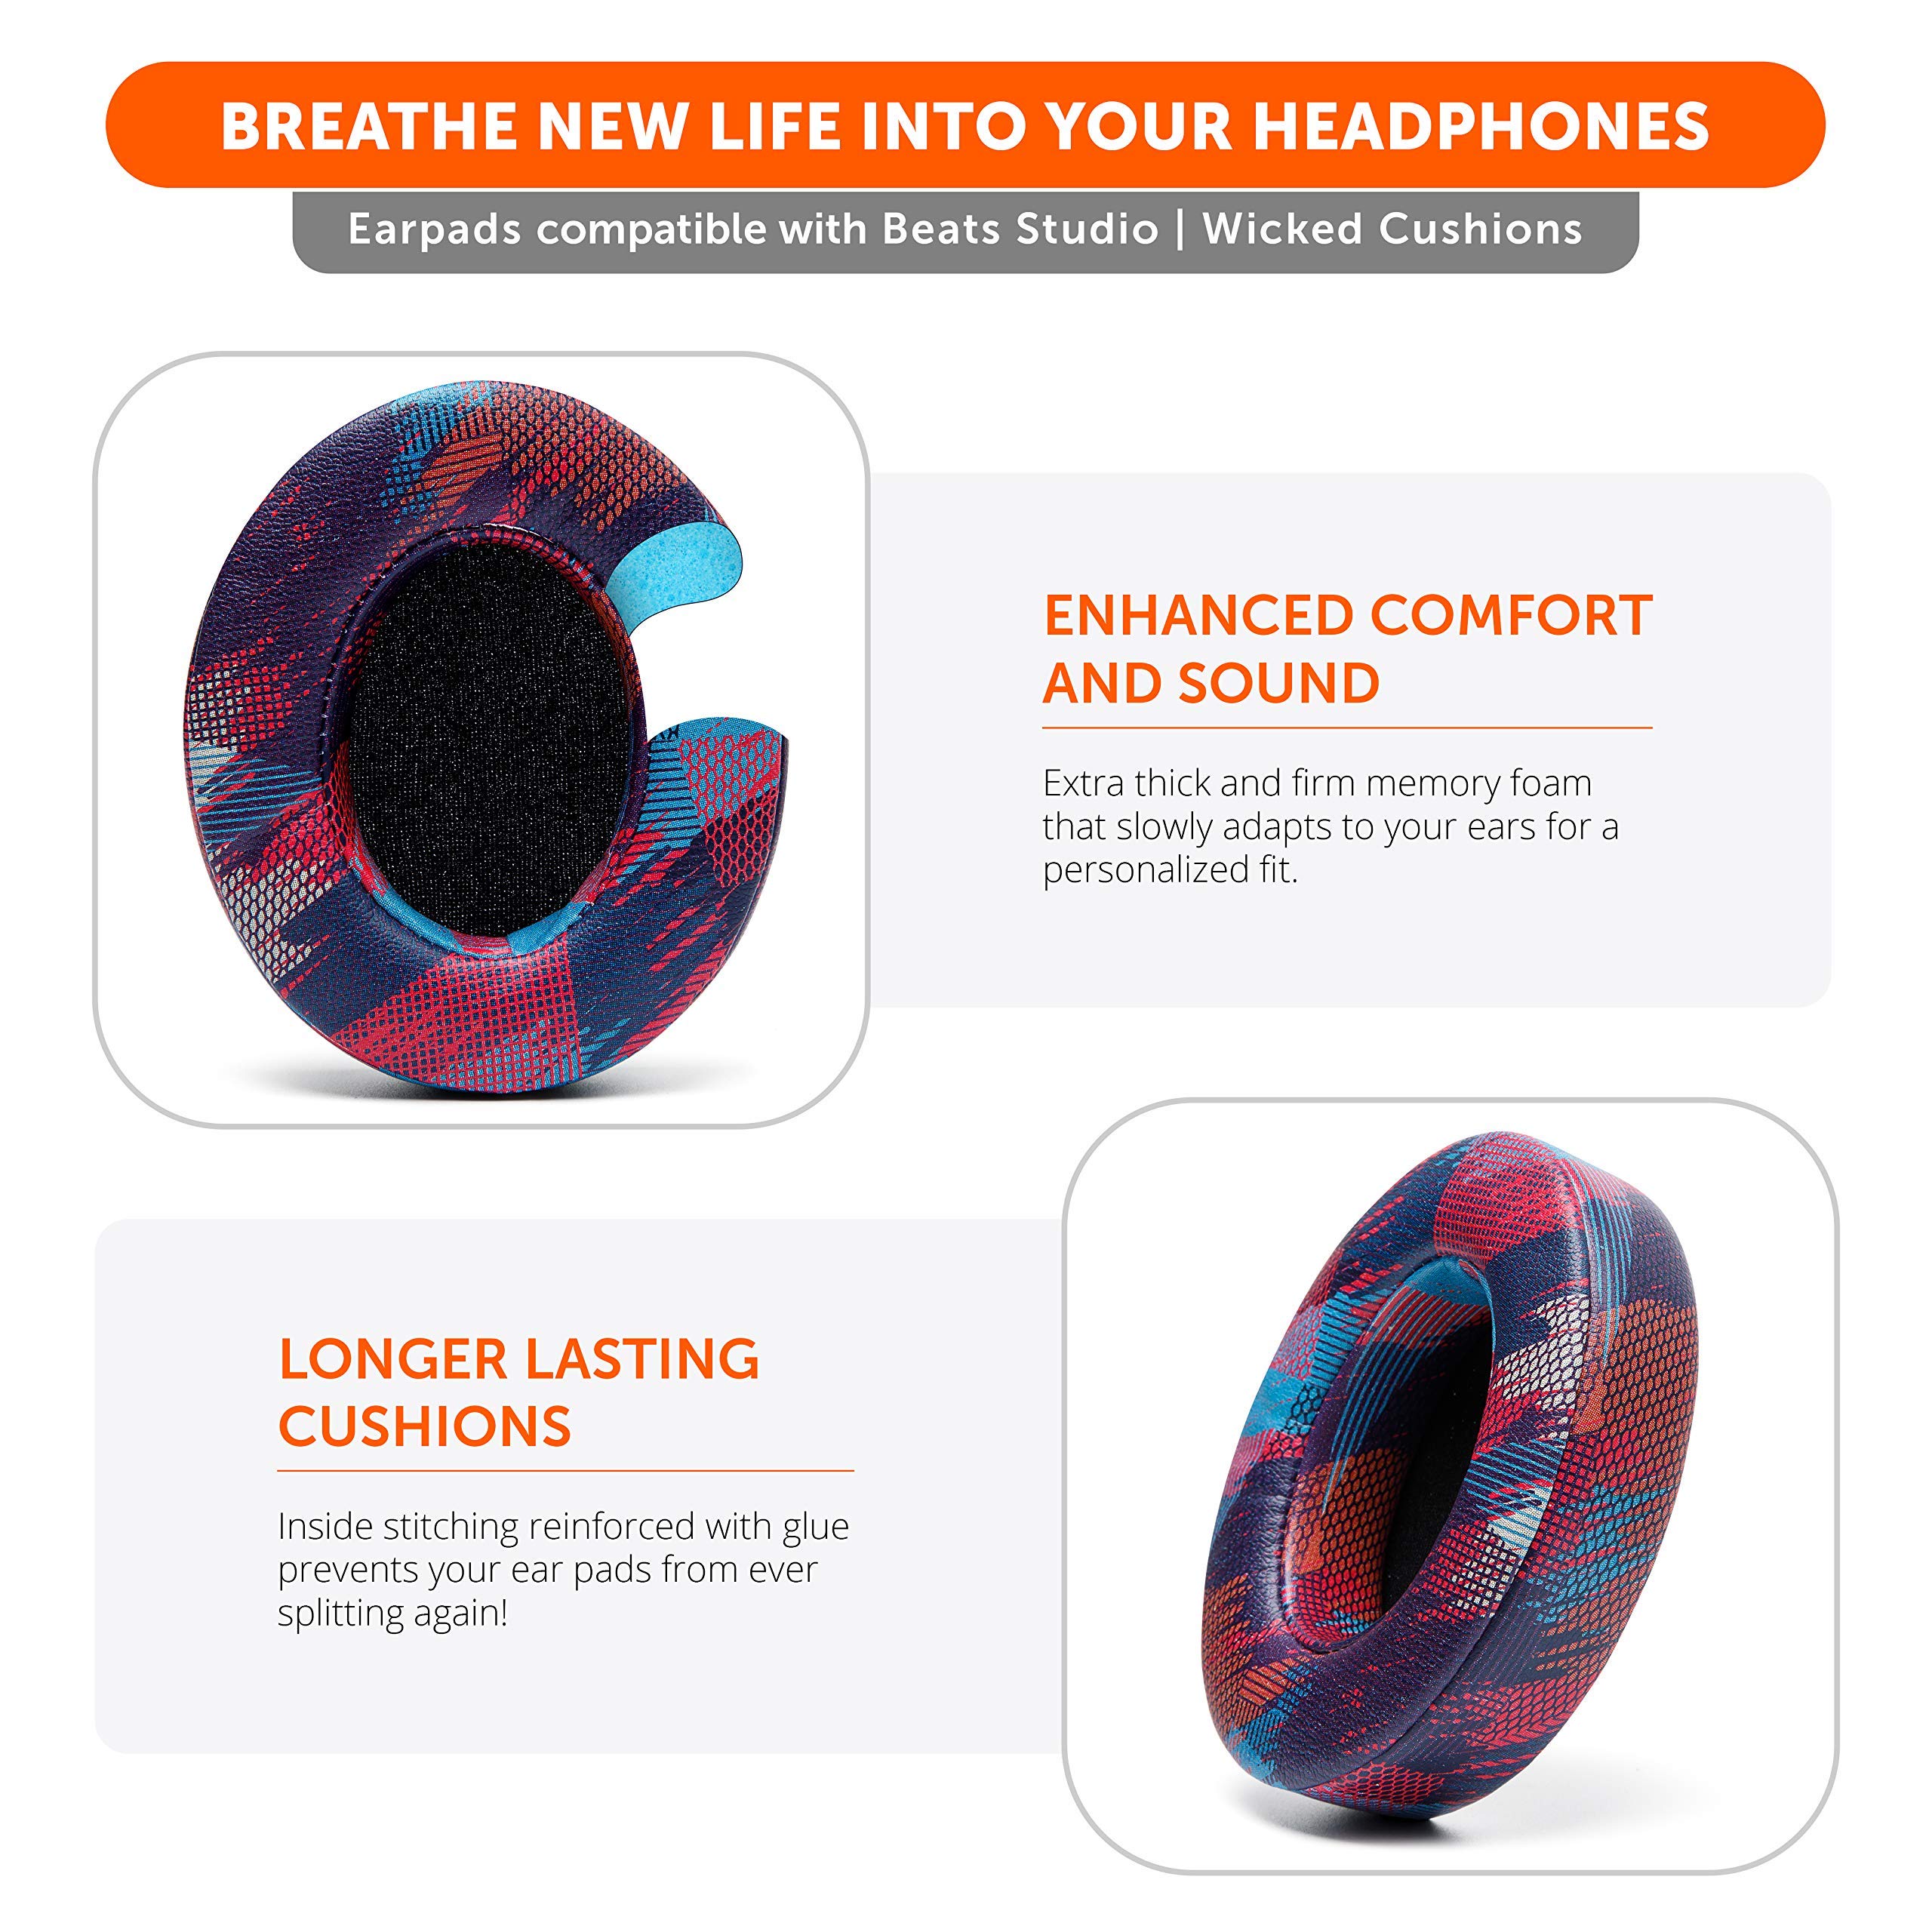
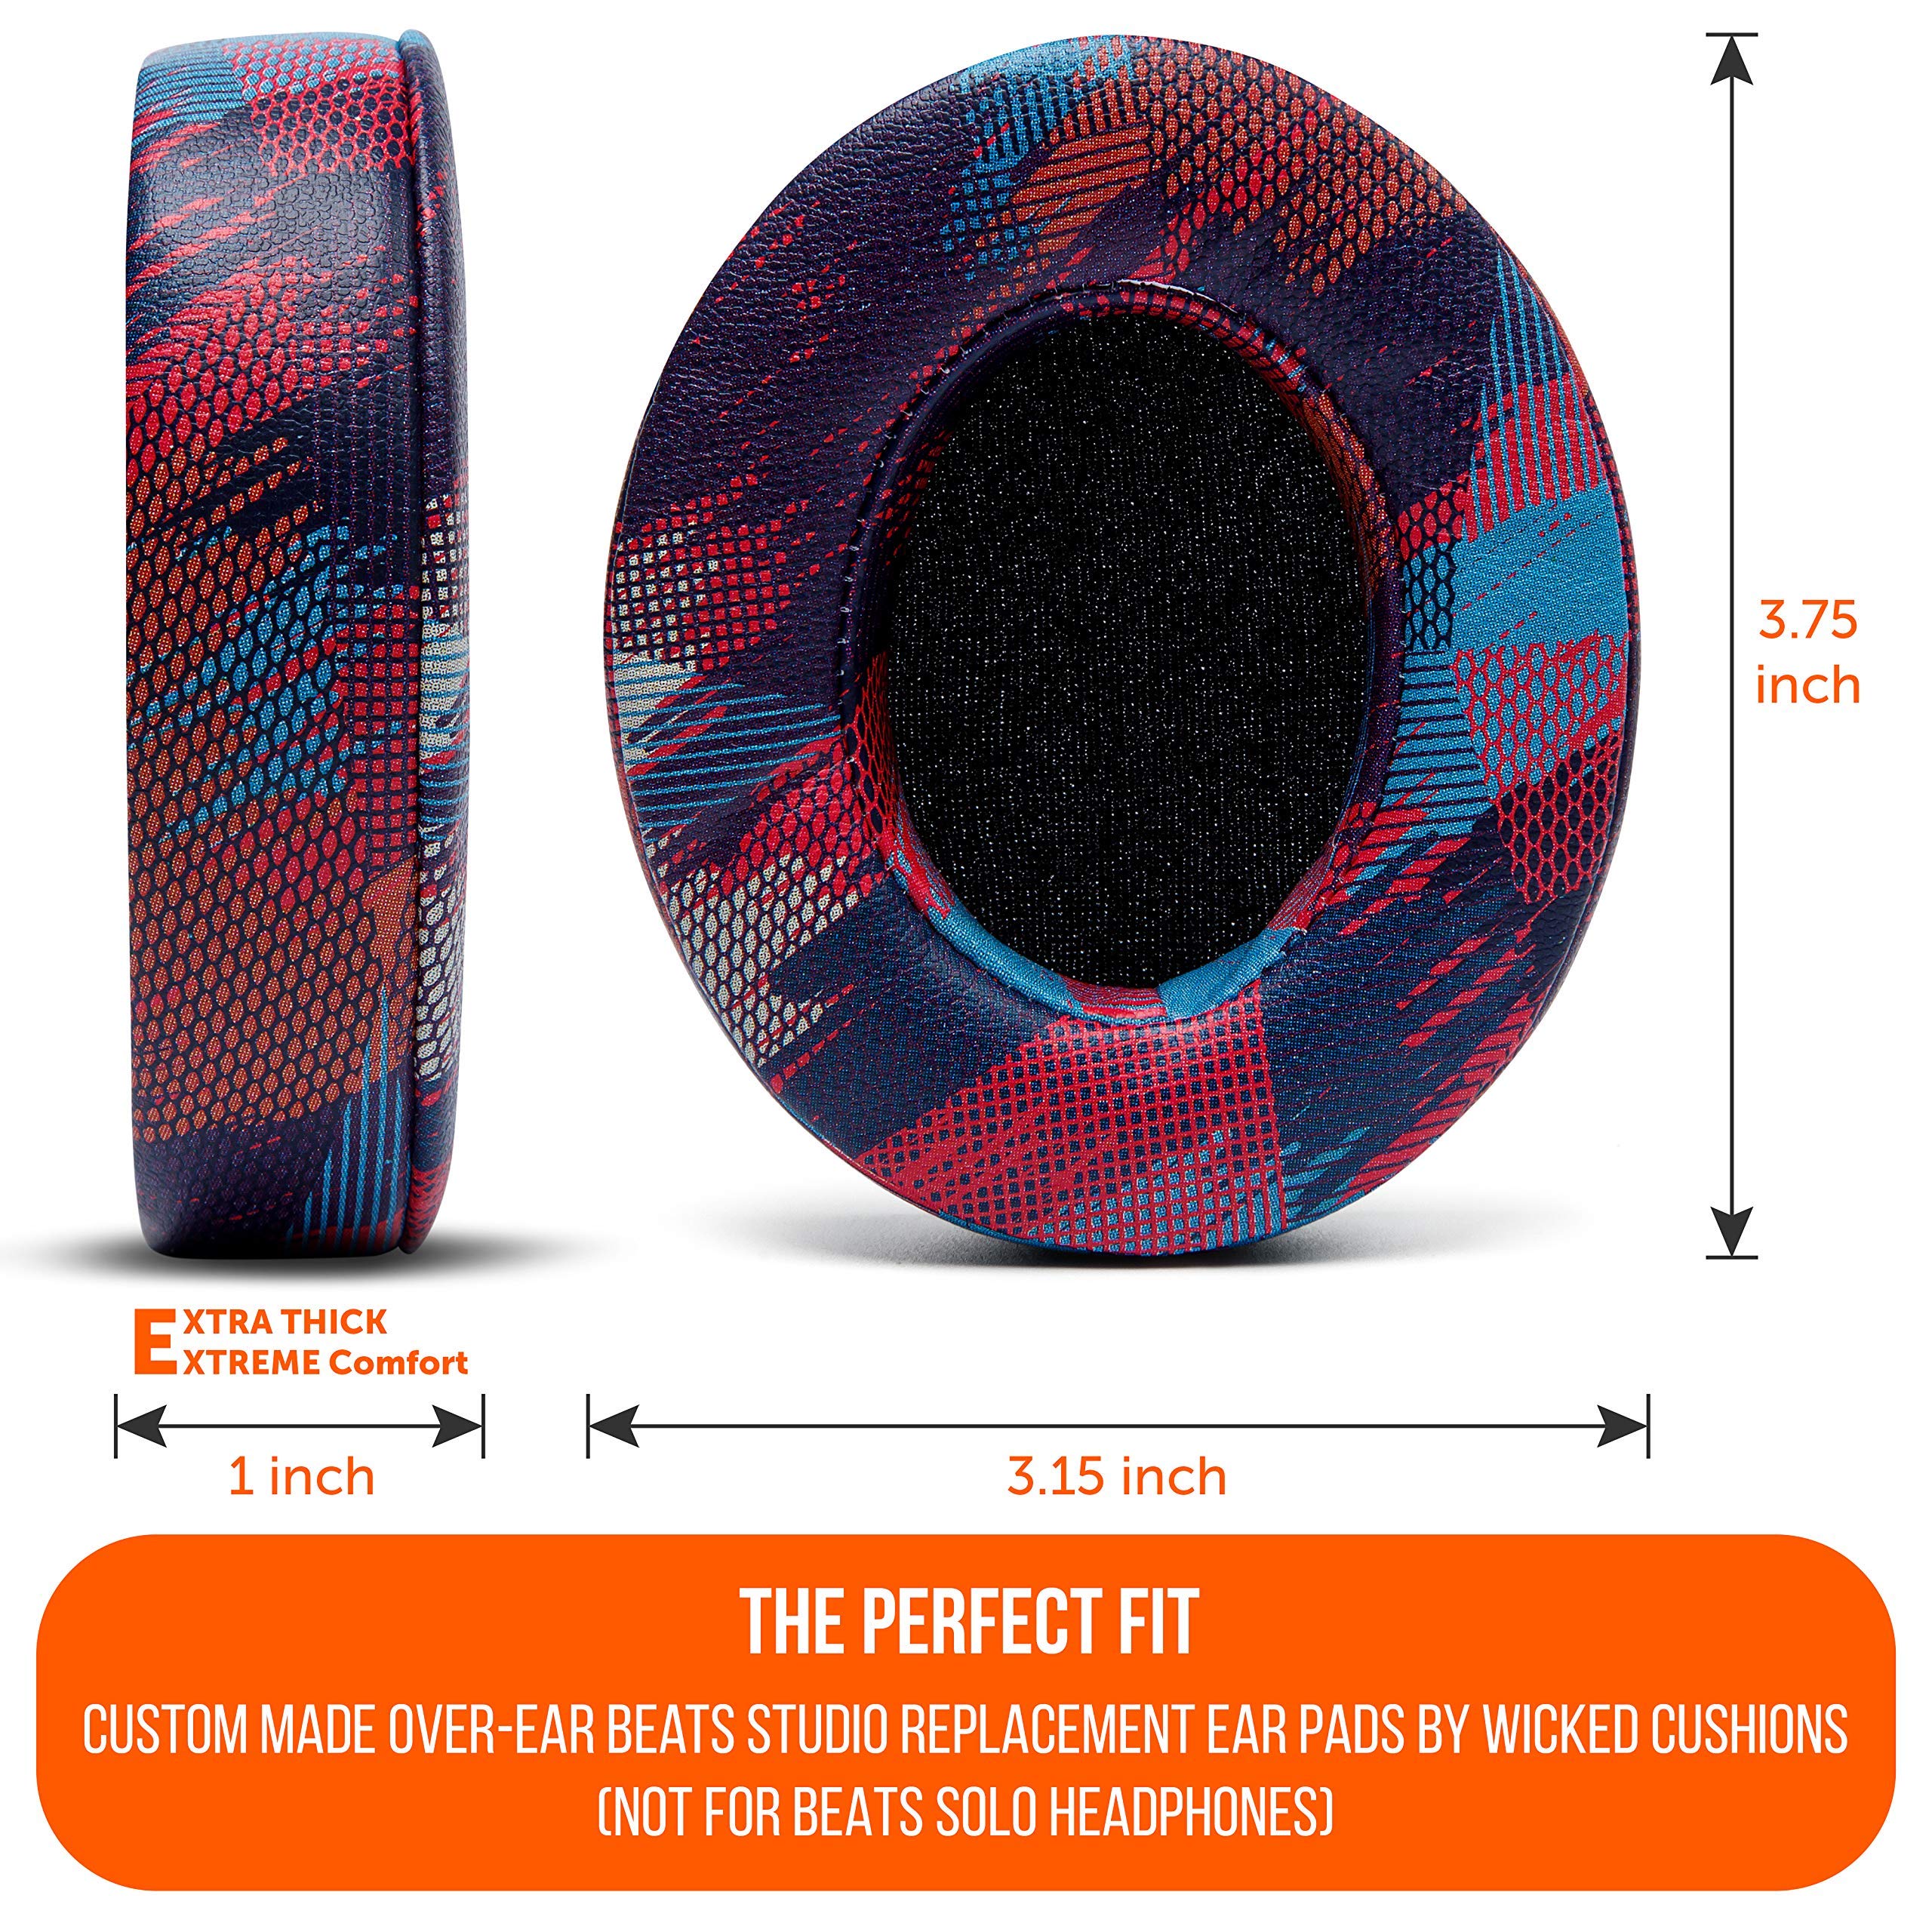
WCWicked Cushions Replacement Ear Pads are designed specifically for Beats Studio 2 & 3 models, offering a perfect fit and enhanced comfort. Made from softer PU leather and extra thick memory foam, these ear pads ensure durability and improved sound quality. The easy installation process, backed by a video guide, makes upgrading your headphones a breeze. Enjoy a premium listening experience with ear pads that are built to last.
J**S
good product - fits well and easy to replace - hygienic
I simply love it - so I bought two and kept one spare cos ram afraid that the stock might run out - planning is important people -----
M**H
High quality-perfect fit
These cushions brought back my old 2012 Beats studio 3 to life.
K**R
Exactly as described
This product is amazing, it is as original as beats, easy to install, it has all the instructions needed along with common mistakes that you may encounter during the process of changing the pads. Pads are comfortable and does not affect the performance of the headset including noise cancellation. You just have to make sure you follow the instructions and do not install the pads upside down, or switch the left and the right pads.
L**I
Wicked Cushions is a Great product.
The product perfectly fit my Beats wireless headphone, it's very soft but still gives a full bass experience. All in all, this product is Great!!!
S**D
original and good quality
all good
A**E
Good replacement.
Make sure you watch the video and read the instructions on how to install it. It made my Beats Studio3 brand new again.
D**D
Great product and easy to fit.
Fantastic product. Easy to fit them. Will definitely purchase again if needed. 100% satisfied.
A**H
Amazing please buy
These were amazing and came earlier than expected. It was easy to put on to my headphones and came within 4 days
K**C
Amazing quality
These are way better quality than original or any of the copies would recommend wicked cushions as opposed to the other brands. I had a set of red ones (not made by wicked cushions) on my beats and they started flaking in less than a year and the seam rip open just as the original ones did these ones seem to have more stitching and less gluing and slightly more padding as well as the foam keeps it shape a little bit better in these ones so they stay on your head better
C**L
Produto atende as expectativas
Mesmo ainda sem usar muito pareceu um produto de qualidade e fácil de instalar. Recomendo.
S**S
Calidad
Buen material, de fácil instalación
I**S
Gave My Beats 2 Studio Headphones New Lease Of Life. Comfortable And Work As Well As OEM Earpads
1. The old earpads of my Beats 2 Studio Wireless headphones, model B0501, had become flaky beyond the point of no return and replacement earpads were needed as the headphones still worked perfectly.2. Watch the videos on YouTube on how to replace earpads so that you can have an idea and build confidence and see the process from beginning to end. The Wicked Cushions video is the best but there are other videos by Martin's Tech Blog, Brian MacDuff and another one by Wicked Cushions with the Stewie Griffin voice. (but that's an older video where the 3M adhesive doesnt have the lip)3. Scale of difficulty. 4.5 out of 10 if you watch the video/s and follow the instructions. The difficulty is in removing the plastic base of the old earpad.4. These pads come in a resealable pouch. Inside the pouch are the 2 replacement pads, 2 wet alcohol wipes and paper replacement/installation instructions.5. The instructions come with a QR code which you can scan with your phone for the Wicked Cushions video/YouTube instructions on how to replace the pads.7. I decided to scan the QR code with my phone camera and the video opened up immediately.8. To remove the old earpads, these videos all showed the person working on the replacement using a strong butter stainless steel knife. It's strong enough to use while having a dull side, meaning that the chances of cutting onself whilst performing the replacement is reduced significantly.9. I placed the dull non-serated edge of the knife on the inner part of the plastic edge between the old earpad and the headphone piece.10. Once I did this, I was able to move the dull edge of the knife around the edges of the old earpad and one part of the earpad (with the outer foam and soft inner cover) came loose. The other plastic base (part of the older earpad) remained glued on the rest of the headphone.11. To remove the plastic base that holds the foam part of the old earpad, use the dull non-serated part of the butter knife to remove it. Make sure that you don't scratch the outer visible part of the black part of the headphone. You will most likely scratch the inside of the bare part of the inside of the headphone part that houses the speaker/driver but that part will be covered by the new earpad.12. You will need to use a bit of force to pry the plastic base off the earpad as it is glued on there tight!13. Once the remaining plastic base of the old earpad is off, its time to clean the headphone part where the new earpad is going to rest on.14. I used my fingers to pull off and roll off the remaining glue off the headphone.15. Once all the glue is off and there is no glue residue, dirt or debris on the headphone, then it's time to clean the headphone surface (where the new earpad is going to rest on) with the provided alcohol pad. I also had in stock some First Choose wet dry cleaning wipes which I used, as the provided alcohol pad/s might not be enough.16. Once the surface is clean, then its time to place the new earpad on. Before placing the new earpad, place it (dry test it) on the headphone, seam on the bottom, before removing the adhesive protection cover to ensure that you are placing the correct earpad on the correct side.17. I started installing the earpad that has the indent/cutout where the USB port cable connects to the headphone.18. I removed/peeled off the 3M earpad adhesive using the lip provided (some of the other earpads from other manufacturers don't have this lip) and lined up the earpad, seam on the bottom to the dowels of the headphone and holes on new earpads and pressed the earpad with my fingers firmly all round the earpad to ensure that the inner part of the earpad connects/holds tightly to the outer part of the headphone that houses the speaker.19. I repeated this process for the earpad on the other side, removing the 3M adhesive, aligning the dowels on headphone to the holes on earpads, seam on the bottom and pressed the earpad to the headphone.20. Once the earpads are on, place them on a set of books (or old VHS tapes which I used!) and clamp them on there for 12 hours. My width between earpads was 7.5 (seven and a half) inches.21. Once the 'drying out' clamping period of 12 hours was over, it was time to test the headphones again.22. The earpads work as well as the previous OEM ones. They are comfortable, have similar noise isolation and don't cause discomfort when you use them for a long time.23. They also fit perfectly into the headphone case as they are pretty much the same size as the original.24. I grabbed the Titanium color as it matched the color of the original earpads to a T. No one can notice the difference as the color is pretty much the same. They don't scream 'replacement' or 'aftermarket.'
D**S
Perfect
Fit is perfect and everything looks as new again
Trustpilot
1 week ago
2 months ago