
Full description not available
R**D
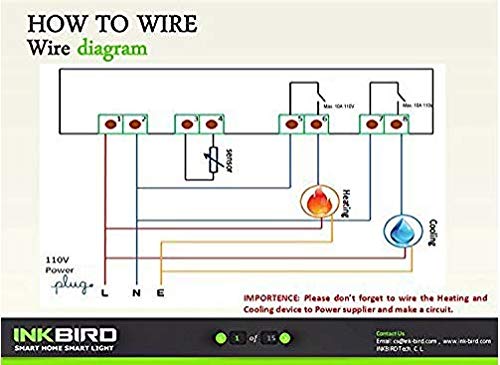
Works great if you seek out a good wiring diagram
Works great if you seek out a good wiring diagram. I've read some negative reviews, but I'd bet that almost every one of those was an issue with improper wiring.. I know, because I wired mine wrong.. was quite upset.. was about to return it to Amazon in disgust.. then I did a bit of research, realized I had wired it wrong (directions don't show you how, nor does the sticker diagram on the unit).. once I wired it correctly it worked perfectly... was totally my mistake!Love it.. for $15 and a martyred extension chord and PC power cable...
B**S
Great for Sous Vide and Homebrewing
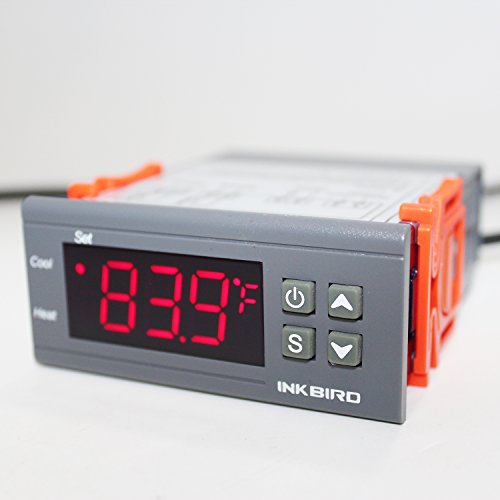
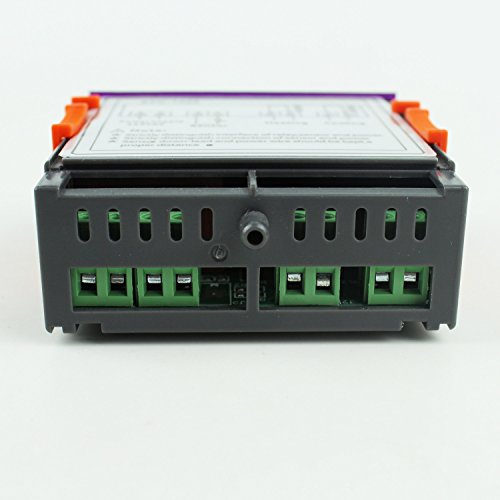
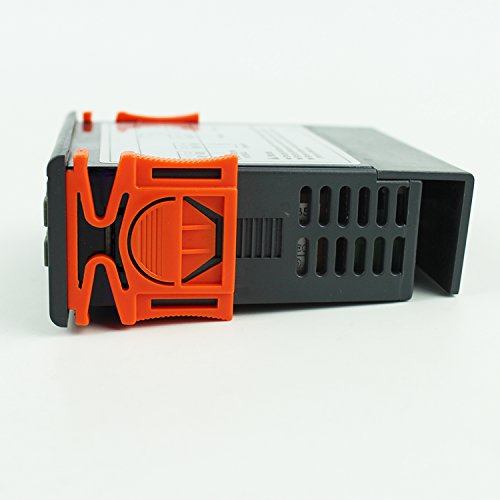
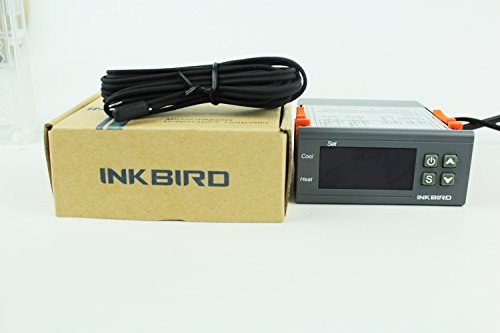
This review is for an ITC-1000F "Inkbird" controller compared to the MH1210F "Docooler" controllerI give the ITC-1000F itself 5 stars but take away 1 star on Amazon because I had to return the first unit. The first order came missing one of the orange clips. They could not ship me just the orange clip so back it went for a full refund. In the meantime, I ordered a second unit via Prime so my down time was only 2 days.The ITC-1000F is a 2 stage temperature controller meaning it can heat and cool at the same time using 2 different sides of a standard electrical outlet. This differs from the MH1210F controller (single stage) which can only heat OR cool but not simultaneously. Other than that, the controllers are essentially the same in function. In heat mode, the controller switches on when the temperature is below the SET temperature and switches off when above it. In cool mode, it switches on when the temperature is above the SET temperature and switches off when below it. There additional variables (ie. time delay, degree difference) but not relevant to this review. The ITC-1000F is a more capable controller and can switch between Celsius and Fahrenheit display. Since the price is the same, I recommend the ITC-1000F over the MH1210F.I originally designed the MH1210F into a box for Sous Vide using a crock pot and it works great for that purpose but I ended up giving it to my brother. I used the ITC-1000F in a smaller box for the second version as you can see in the pictures. In case you are wondering, both boxes came from Radio Shack (7x5x3" and 6x4x2") so grab one before they close for good. The smaller size is as small as an enclosure you can use for all the wiring needed (mine is wired so the left outlet is cooling and right is heating).NOTE: The smaller box was a pain to wire up so proceed at own riskIn summaryITC-1000F: 2 stage, F/C degree display, thicker temperature probe and wire, audible alarmMH1210F: single stage, F display only, thinner probe and wire, simpler wiring connectionsThe translated instructions for the ITC-1000F are not great but I've seen worse (MH1210F are bad) so here are my cleaned up instructions.@ (Power) Key - Toggle power / Confirm setting value / Save & exitUp Key - Show temperature setting / Up setting menu / Increase valueDown Key - Show difference setting / Down setting menu / Decrease valueS Key - Settings menu / Select setting / Save setting valueIn normal operating mode, pressing Up once shows the set temperature value and pressing Down once shows the difference value. Press and hold @ for 3s to turn off. Press and hold @ for 1s to turn on. When the temperature is less than or equal to the set temperature minus the difference setting, the heat relay closes and the heat indicator turns on. When the temperature is equal to the set temperature, the heat relay opens and the heat indicator turns off. When the temperature is greater than or equal to the set temperature plus the difference setting, the cooling relay closes and the cool indicator turns on. If the cool indicator flashes, the cooling relay is delayed from closing for the programmed time (to protect refrigerator compressors).Press S for 3s to get into settings menu. Use arrow buttons to select setting, then press S to change and press arrow buttons to change values. Press S to save and @ to save and exit menu settings.TS - Set temperature -50F to 210F, default 50FCF - Switch to Celsius or FahrenheitCA - Calibration -15F to 15F, default 0FPT - Compressor delay 0min to 10min, default 3minDS - Difference setting 1F to 30F, default 3FChanging CF resets all settings to default values.ER is displayed and alarm sounds if the probe is disconnected or short circuited. Press any key to silence alarm.HL is displayed and alarm sounds if measured temperature exceeds maximum operating temperature. Press any key to silence alarm.
T**E
Using for brew fermenter. Could not be happier!
Total noob here regarding homebrewing, but I do have experience with computers and simple electronics, so wiring this up was a breeze. The hardest part was that I decided to use some spare Romex wiring I had and working with it was like wrestling with wire coat hangers.Regardless, within an hour I had everything soldered or connected using wire nuts. Very satisfied with the outcome and am simply blown away by the price. Plus, Fahrenheit support! Now I have it controlling a Haier Mini Fridge keeping it right at 65F.Other parts used to complete the build:Hammond 1591ESBK ABS Project Box BlackInterpower 8301213 IEC 60320 C14 Screw Mount Power Inlet with Quick Disconnects, IEC 60320 C14 Socket Type, Black, 10A/15A Rating, 250VAC Rating10 Pcs US 3 Pins Power Socket Plug Black AC 125V 15AMy current settings for fermenting ales:TS (Temperature Set Value) = 65 degreesDS (Difference Set Value) = 3 degreesPT (Compressor Delay) = 10 minutesI've attached some photos of the finished product.
J**K
Great, economical, temperature controller for most applications
I love these, and have bought for several purposes. The included K type thermocouple is accurate enough to measure to .1 degrees resolution. From the few times I've used these, they are very close to actual temperature (+/- 1 degree), and do offer a temperature "shift" in case you do need to make an adjustment. I've used this to replace a mechanical thermostat on a 1930's westinghouse refrigerator, and it works great. I've also used this to build a chicken incubator. Again, it works great. it has an internal relay that handles quite a bit, and you can always run it through a "solid state relay" to power anything you need to. If you are using this for a refrigerator rebuild, I highly recommend you also buy the compressor starter capacitors also sold here on Amazon. I'm happy to have such value in such a cheap package. In reality, you can also use this for a sous vide controller. The only downside is that though the resolution is to .1 degree F, the control range is a minimum of 1 degree. If you wanted to hold exactly at 100 degrees, for example, it would kick on the heater at 99 degrees, and stop at 100, then kick back on at 99 degrees. One degree is the minimum range you can set. If you need any more narrow control band, I suggest you get a PID controller. For the vast majority of applications however, this can't be beat. The range is adjustable (on/off) to whatever you wish, but not less than 1 degree. It is adjustable to display C or F. It also has a setting to prevent "short cycling"... that is, kicking on, and off your compressor so often that it burns up faster. The setting puts a timer on the minimum time from when it last went off, to when it goes on, and visa-versa. For example, you can set it to not to cycle less than 3 minutes (factory default). The probe cord is about 6 feet, and the probe itself is plastic coated and just over 1/2 inch. It seems pretty responsive (you hold it in you hand and it warms up about 1 degree F per second, or faster). I hope you find this review helpful.
Trustpilot
1 day ago
1 month ago
